Calculating tiles, waste and cost the right way
Start with an accurate area
Every tile project starts with the area to cover. For floors that is length times width; for walls it is width times the tiled height, minus windows or doors. Split L-shaped rooms into rectangles and add the pieces together. Measure twice, in the units you will buy in, and write the figures down — it is surprisingly easy to mix up inches and centimetres in a store.
This calculator then divides the area by the size of one tile, including a waste factor, and rounds up to whole tiles. In metric mode you enter tile sizes in centimetres and areas in square metres.
Why the waste factor matters
Tiles get cut at every wall, around pipes, door frames and corners. Some break during cutting or arrive chipped. A waste factor covers all of this. For a simple straight-lay pattern in a rectangular room, 10 percent is usually enough. Diagonal layouts, herringbone, chevron and rooms with many corners need 15 to 20 percent. Large-format tiles can also produce more waste, because one bad cut costs a big piece.
Ordering extra is cheaper than running out. Tiles are produced in batches, and a later batch can differ slightly in shade or size. Keep a few spare tiles after the job for future repairs; finding the same tile five years later is often impossible.
Estimating tile cost
The tile quality dropdown adds a material cost to your result. Basic ceramic is affordable and fine for walls and low-traffic floors. Porcelain is denser, more water-resistant and better for floors, showers and outdoors. Natural stone and designer tiles sit at the top of the range. If you have a price from a supplier, choose “Custom amount” and enter it per square foot or square metre.
Remember that tile itself is only part of the cost. Thinset adhesive, grout, spacers, trim profiles, backer board, waterproofing membrane and — if you hire someone — installation labor all add up. Labor for tile is often equal to or higher than the material cost, especially for small or complex patterns.
Practical tile tips
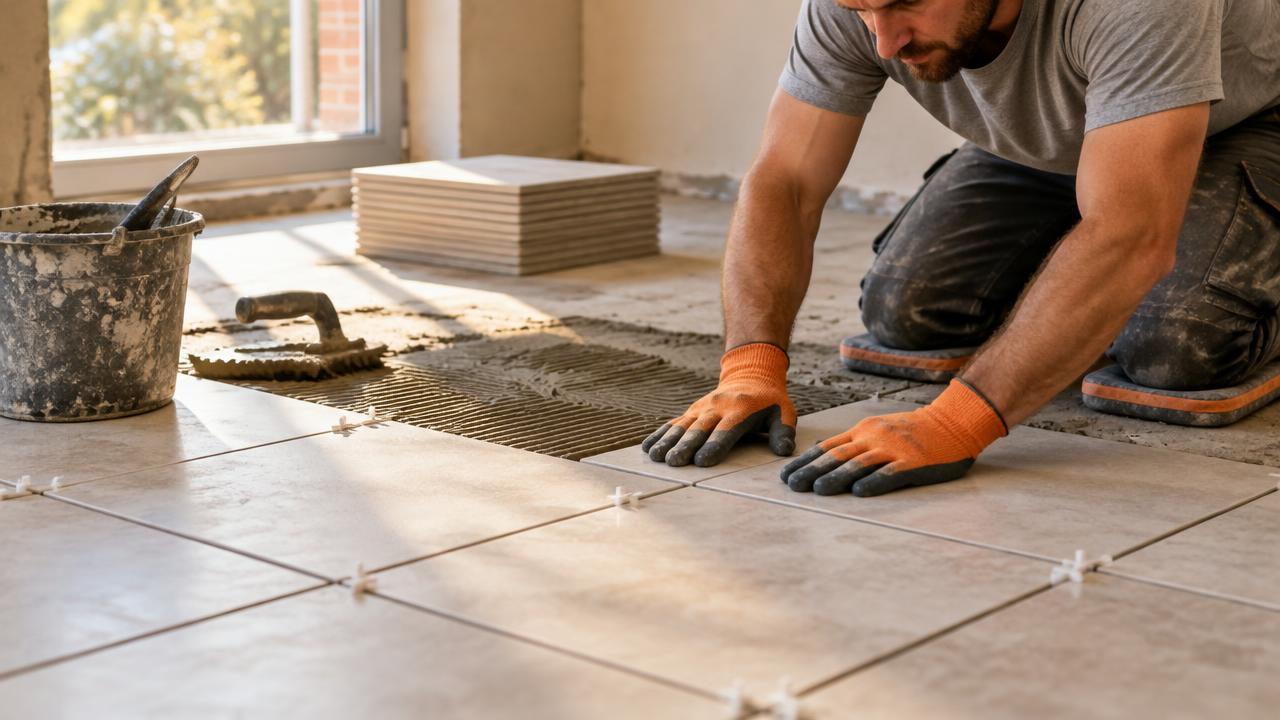
Dry-lay a row of tiles before you start to plan where cuts will fall; aim for equal cuts at both sides of the room rather than a sliver along one wall. Check that the floor is flat — large tiles need a very flat substrate to avoid lippage. Use a notched trowel that matches the tile size and back-butter large tiles for full coverage. Leave the adhesive to cure before grouting, and seal natural stone and cement-based grout where recommended.
These quantities are estimates. Always check the coverage and box sizes from your supplier and confirm complex layouts with an experienced tiler.
How it's calculated
We divide the area (plus waste) by the area of one tile. Use 10% waste for straight layouts and 15–20% for diagonal or herringbone patterns.
Worked example
A 10 × 8 ft floor = 80 sq ft (7.4 m²). With 10% waste = 88 sq ft. 12×12 in (30×30 cm) tiles are about 1 sq ft each, so you need 88 tiles, or 9 boxes of 10.
Frequently asked questions
+What waste factor should I use for tile?
10% for straight lay, 15% for diagonal, and up to 20% for herringbone or rooms with many corners.
+Should I keep spare tiles?
Yes. Keep a few spares from the same batch for future repairs, as colours vary between lots.
+Does grout width change the count?
Barely. Grout lines slightly reduce the tile count, but the waste factor covers it.
+How do I tile a wall?
Use wall height as width and subtract windows or doors from the total area.